

There’s something so satisfying about a crochet project that’s both beautiful and practical, isn’t there? That’s exactly what I had in mind when I designed this flower coaster set. I wanted to make something that wasn’t just functional but also a little burst of joy every time you look at it.
Imagine this: a stack of vibrant flower-shaped coasters, all tucked neatly into their own crocheted pot. When they’re all together, they transform into a blooming flower—or even a little cactus if you go for green tones. It’s the kind of project that doesn’t just serve a purpose; it becomes a centerpiece, brightening up your coffee table or desk with every use.The idea came to me while I was caught up in that New Year organizing buzz. I was clearing away holiday clutter and found myself thinking about ways to make everyday items more cheerful and tidy. What could be better than a set of coasters that double as decor? It was a chance to blend the fresh start of the New Year with a playful, handmade touch.
Materials You’ll Need

Abbreviation
This pattern is written in US Standard Crochet Terms
- mc : magic circle
- ch : Chain
- sc : single crochet
- dc : double crochet
- dc-inc : double crochet increase. 2 double crochet in the same stitch
- inc : single crochet increase. 2 single crochet in the same stitch
- slst : 3 single crochet stitches in the same stitch
- dec : single crochet decrease. crochet 2 single crochet together
- blo : work the stitches in the back loop only
- [ ] : crochet the sequence inside the square brackets for the specified number of times
- ( ) : total stitch count at the end of the round
Pattern Notes
- At the end of each round, slip stitch to the first stitch to close the round unless otherwise stated.
- For the flower coasters, the ch 2 at the start of petal rounds does not count as a stitch. Always work the first DC in the same stitch as the ch 2.
- The pot is worked in the round continuously (spiral method) unless otherwise noted. Use a stitch marker to keep track of the beginning of each round.
- Adjust your hook size if your tension is too loose or too tight for the coasters to fit neatly in the pot.
- Feel free to customize the colors to match your decor or create a theme!
Pattern
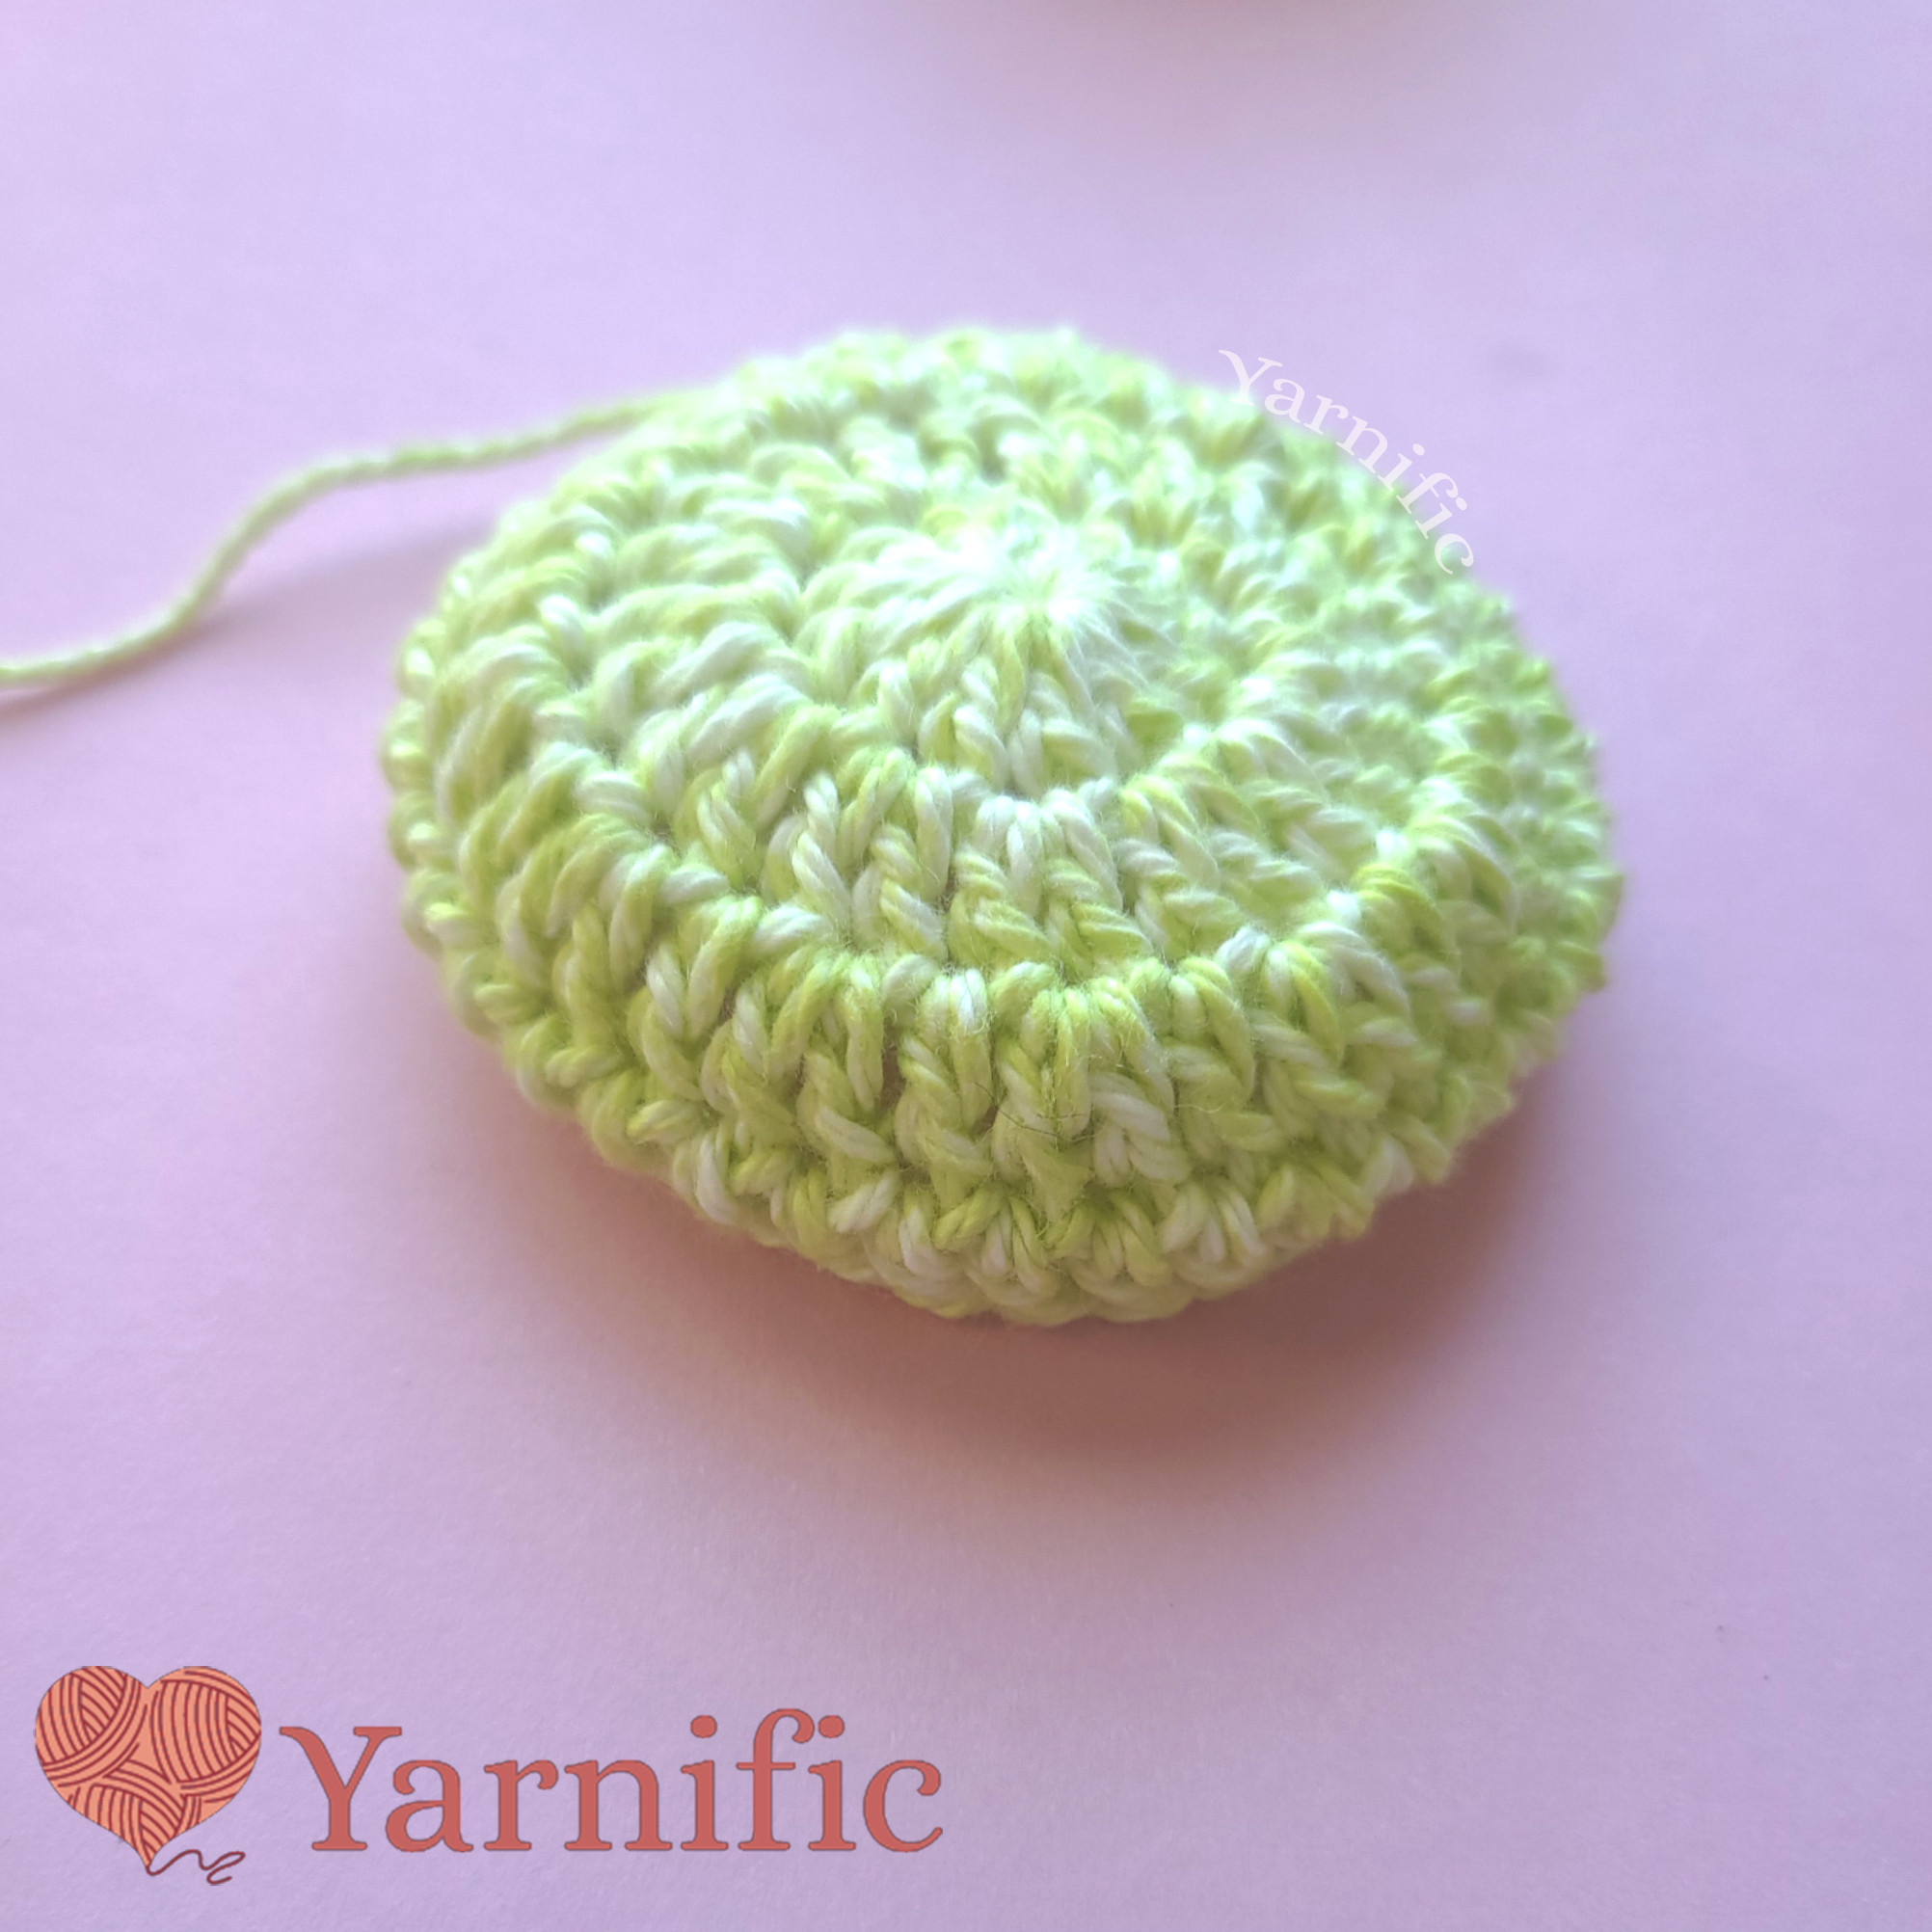
Step 1: Flower Coaster (Make 4-6)
use green color and 4mm crochet hook.
Chain 2 at the start of each round; this does not count as a stitch. Work the first DC in the same stitch as the ch 2, and join each round with a slip stitch into the first DC of the round.
Round 2: ch 2, [dc-inc]x12 join into the first dc of this round (24)
Round 3: ch 2, [1 dc, dc-inc]x12 join into the first dc of this round(36)


Step 2: Pot
use white color and 3.5mm crochet hook.
Work in continuous rounds without joining. Use a stitch marker to mark the first stitch of each round for easier tracking.
Round 1: Start with a magic circle. Work 8sc into the magic ring. (8 sts)
Round 2: [inc]x8 (16)
Round 3: [1 sc, inc]x8 (24)
Round 4: [2 sc, inc]x8 (32)
Round 5: [3 sc, inc]x8 (40)
Round 6: [4 sc, inc]x8 (48)
work in the BLO
Round 7~15: sc around (48)
Round 8: [10 sc, dec]x4 (44)
Round 9: slst around (44)
cut yarn and weave in ends


Once you’ve completed all the flower coasters and pot, it’s time to arrange them to look like a blooming flower:
- fold the Coasters to stack in your pot like the picture.

- Arrange the folded coaster in the pot


- Optional Embellishments: Add tiny stitches in a green to mimic cactus spines, or stitch hearts on the pot ( check my Youtube channel for a video tutorial on how to do that)
FAQ – Tips and Troubleshooting
This flower coaster set isn’t just a functional project—it’s a little piece of joy that can brighten up your table, gift someone special, or add a cozy charm to your space. I had so much fun creating this blend of practicality and beauty, and I hope you enjoy making it as much as I did.
Don’t forget to play with colors and customize your pot or flowers to match your vibe. And if you make one, I’d love to see it! Share your creations and tag me @yarnific everywhere so we can celebrate your blooming creativity together.
Happy crocheting! 🌸


0 Comments